THE BLOG
SportBodyWork
Is knee pain still holding you back? Try this now
Estimated Read Time: 6 Minutes
Are you dealing with knee pain? Does it cause you to have pain while enjoying your favorite sport or have you had to temporarily quit your sport because of the pain?
I’m going over Jumper’s knee today and the good news is you can use this same program even if you suffer from Runner’s knee.
In fact strengthening and gaining mobility in the knee and the joints below and above the knee will make your knee way less susceptible to knee pain and injury. So you don’t end up like me, a recovering ACL reconstruction, because I didn’t apply these important steps!
Addressing the issues in your knee now is easy and doesn’t take much time compared to needing a surgical intervention and recovery because you didn’t address the knee. In fact this entire program can be done in just 10 minutes a day. Increasing as you go.
What Is Jumper’s Knee and what causes it?
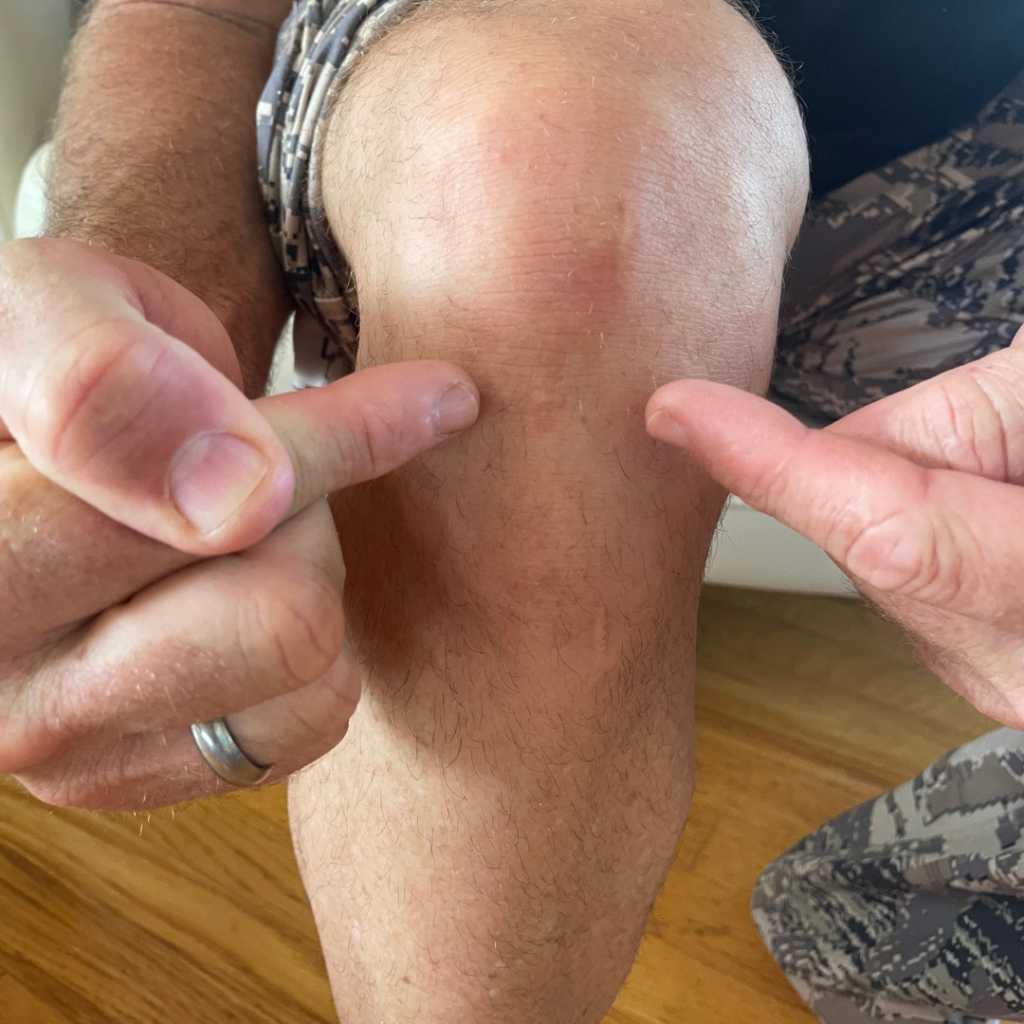
Jumper’s knee is pain on the lower portion of the kneecap, right at the top of the patellar tendon. It’s a common issue for those who run and jump frequently, like runners, basketball or volleyball players. Because of the repetitive nature of your sport, the high intensity and because you are not using the full range of motion in each repeated step in your chosen sport.
This is the site of pain for Jumper’s knee.
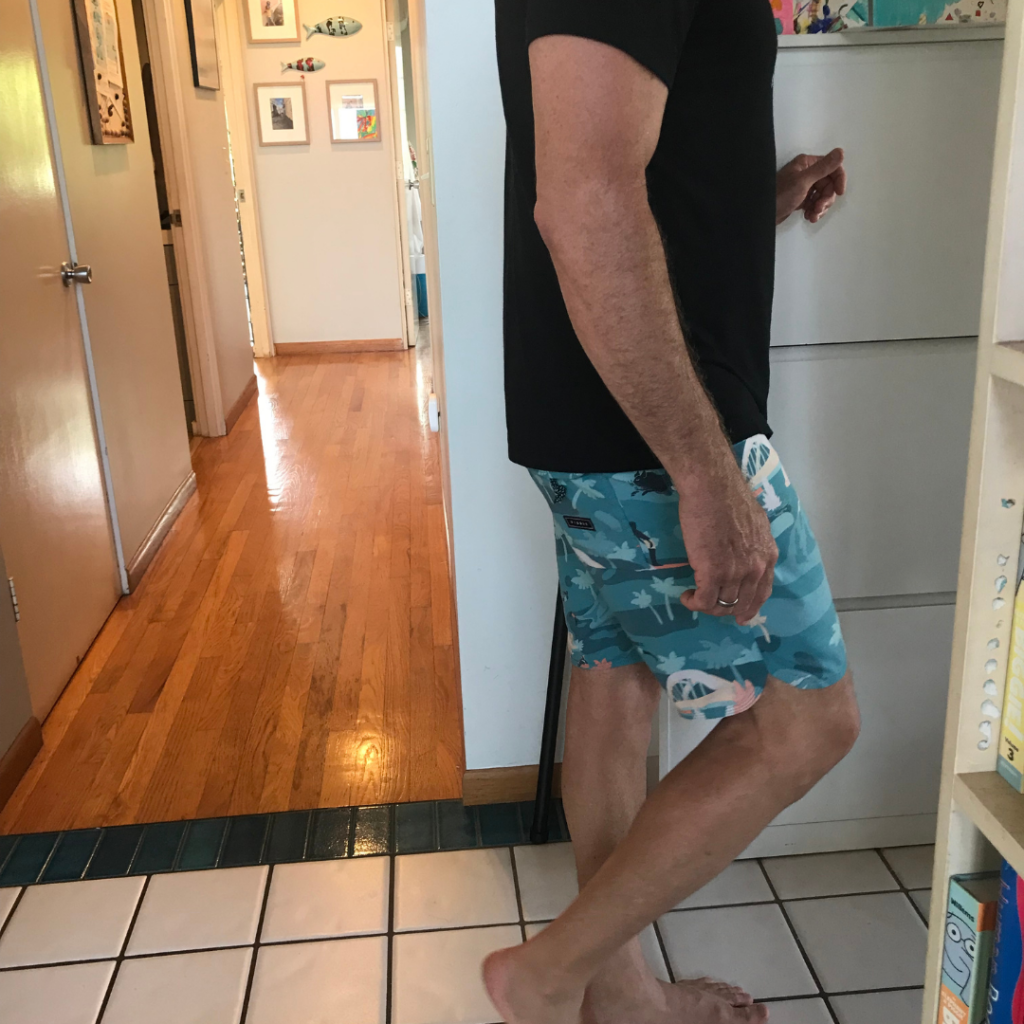
Step 1: Walking Backwards
Walking backwards reverses the injury mechanism. This simple movement unloads your knees and helps alleviate pain.
Start Easy: Begin with 5 minutes, and work up to 20 minutes over time. This just looks like stepping forwards (see pic) but your stepping backwards. This is different then the walking backwards method for back pain. Eventually you can add resistance by dragging a sled.
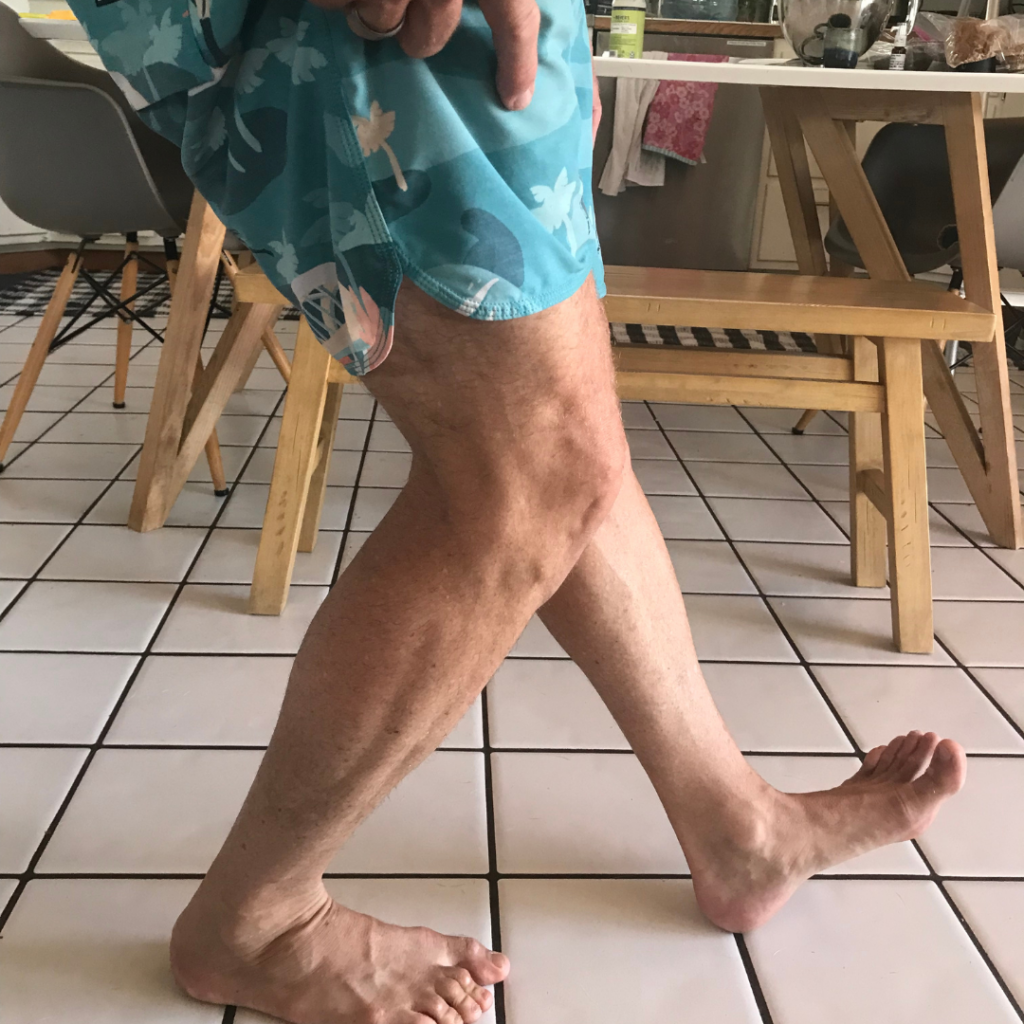
Step 2: Step Ups
Step ups build strength in a partial range of motion. Start low and gradually increase the height.
Go Slow: If it hurts, the step is too high. Begin with a small range of motion, then increase it inch by inch. Starting on the ground is fine this is regressed to ensure pain free movement. Keep your body and torso upright. Have someone take a pic or let you know if you need to lean forward if you are leaning back.
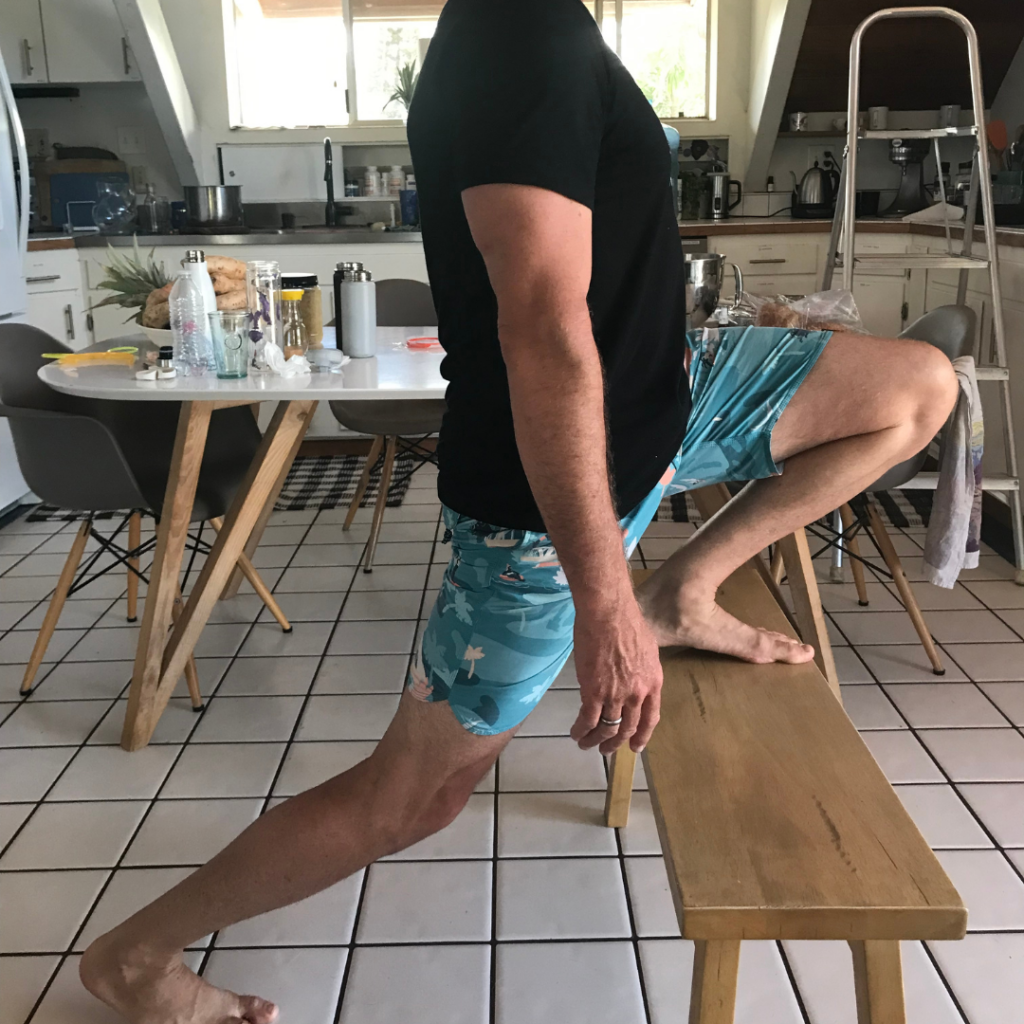
Step 3: Split Squats
Split squats are crucial. They train your knee, ankle and hip through a full range of motion, strengthening it where it matters most.
Start Small: Begin with shallow pain free split ranges of squats, extending the opposite leg behind you while the front foot is elevated gradually increasing depth and work towards the front foot being able to be flat on the ground. Later you can add weight resistance. (Don’t rush this step.)
Final Tips
- Pain-Free Movement: Always work within a pain-free range. If it hurts, reduce the intensity or range or both. Your PT or Doctor may disagree with me on this and allow you to work in pain but this is something that is a non negotiable part of any rehab program that I suggest to you. More pain = injury.
- Progress Gradually: As you get stronger, increase the challenge. Eventually, you’ll be ready for more advanced moves like the super uncomfortable but highly effective couch stretch. We will cover that soon!
- Download my free guide or
More Help!
I have a course showing you exactly how to do each of these steps and more! Here’s a testimonial:
“I am about 60 days into Run Skool training. It is amazing and the results are fantastic. I just returned from 3 epic days of powder skiing in Steamboat Springs, Colorado. I feel great with very little soreness. Without the training I would be very stiff and sore. “
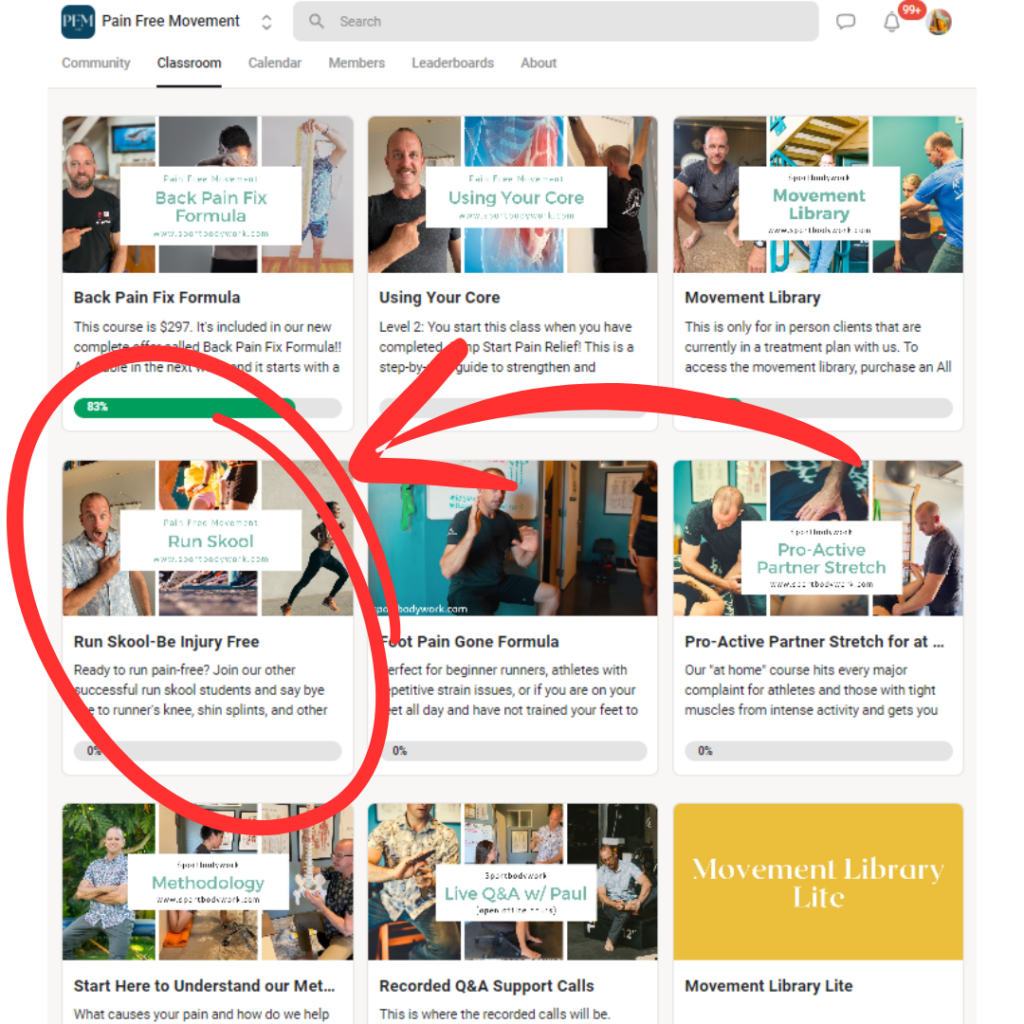
You can have the same results. Look for this classroom in Pain Free Movement.
Taking these steps seriously can save you from long-term problems and even surgery.
Get started today and let us know how it goes!
P.S. Stay tuned for next week’s tips on scaling up your routine safely!
CATEGORY
8/10/2024
